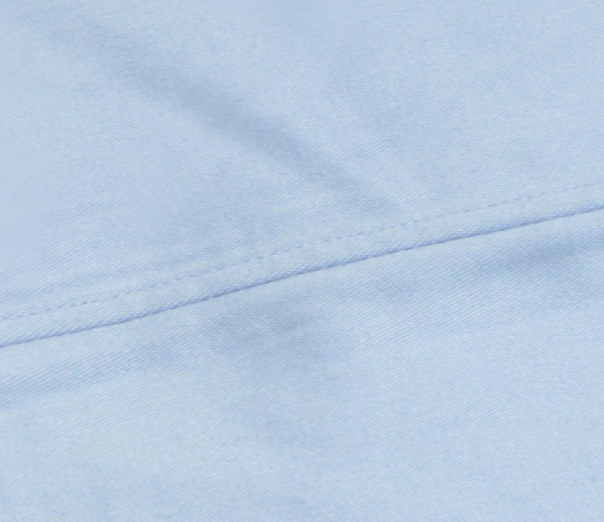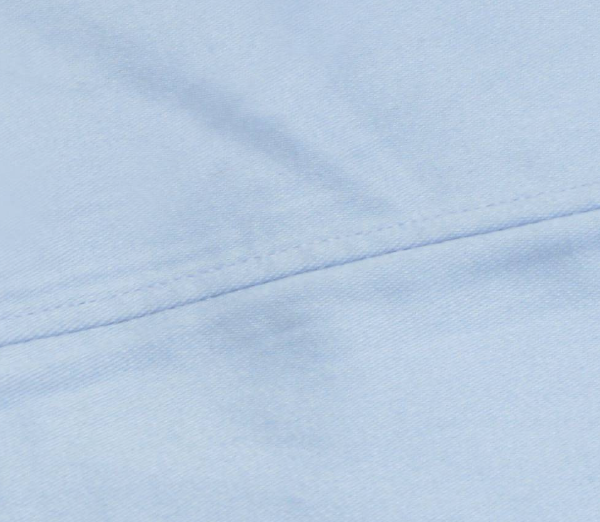
- French single needle, 22 stitches/ inch
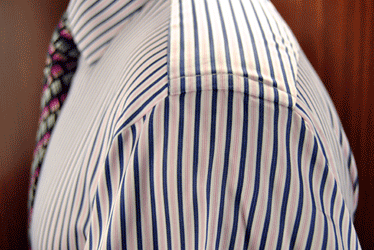
- Pattern matching on sleeves
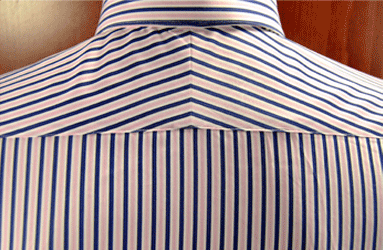
- Pattern matching on yoke
Whether you have something custom-made or buy ready-to-wear, it’s useful to know how to examine the quality of a shirt. How can you tell if a shirt is well-made?
There are the obvious dimensions. Fit is paramount, of course. Even if something was made with impeccable construction, if it doesn’t fit well, the fabric and sewing will mean little. Know what to look for when examining the fit.
There’s also the fabric. Generally speaking, two plys (or more) are be better than one. Fabrics woven on older, slower looms also tend to be more durable than those woven on faster, modern machines. Outside of that, much of the fabrics’ quality can be judged on how soft or luxurious it feels. Part III of this series covered some of those basic points.
In addition to the fit and fabric, you should also consider these three things:
Stitches per inch: Low-end shirts tend to be made with fewer stitches-per-inch than high-end shirts. That’s because the speed of a sewing machine is measured in stitches-per-minute. The fewer stitches a machine has to sew per inch, the faster it can go. Since poorly made shirts are banged out as fast as possible, they have lower stitch counts. These rougher looking stitches detract from the shirt’s durability and elegance.
It’s important to know how to examine this properly, however. On very high-end shirts, the number of stitches per inch can vary depending on where you’re looking. The collar and cuffs, for example, are meant to be replaced and refurbished over time, so they need to be attached with a lower stitch count in order to aid the disassembly process. The topstitching you see on them can also be made with a higher stitch count since the fused interlining can overpower any tendency for the thread to pucker.
One good place to look, then, are the side seams. If these are neatly and finely sewn, you’re likely to be holding something of decent quality. The picture you see above is a French single needle seam made with 22 stitches per inch, which is pretty good.
Pattern matching: If your shirt has checks or stripes, the pattern should match up well along the yoke, armhole, and placket. Pockets should also be aligned on the shirt according to their pattern. If you happen to be working with a lower-end shirtmaker, opt for solid colors, or at least forgo things such as split yokes and pockets. If you don’t, you might end up with something that looks like a patchwork quilt.
Single needle seams: The side seams on a shirt can be made with single or double needle stitching. Single needle is neater and cleaner because it leaves only one row of stitches visible from the outside. It also won’t pucker over time due to the thread and fabric reacting differently to washing. As you can probably guess, however, single needle stitching takes more time, and since time is money, cheaply made shirts will have double needle stitching (many of which will pucker right out of the box).
That more or less concludes the “how to” portion of this series. We’ve talked about fit, fabric, and where to get something made (both offline and online). Today, we’ve covered how to examine the quality of your shirt. That should more or less take you from start to finish if you’d like to get something custom made. Given that most dress shirts retail between $60 and $200, and rarely even fit well, getting something custom can be a good idea. Just make sure you have realistic expectations. Renowned operations such as Charvet and Turnbull & Asser will give you a better made, better fitting shirt, but they’re also more expensive. More affordable operations might not fit as well, but if you work with them over the course of two or three shirts, they can sometimes dial in on your pattern. If you can have a few made by a renowned house, you could also have the shirt copied by a lower-end operation. The construction won’t be as nice, but at least you’ll get the most important part right – the fit.
Later this week, we’ll close out the series with a very special interview with my favorite shirtmaker, Ascot Chang.


