Ironing is a pretty simple and straightforward task that only requires an ironing board and iron. However, I’ve found it’s useful to have three other items on hand: a spray bottle, a plastic bag, and a sleeve board. The spray bottle is useful to help soften up the fabric and get the fibers to relax. Your iron should also have this function, but from my experience, a spray bottle always works better. After you’ve lightly sprayed down a few shirts with water, roll them up, and stick them in a plastic bag. Then, as you iron each one-by-one, the others will soak a little, instead of dry up.
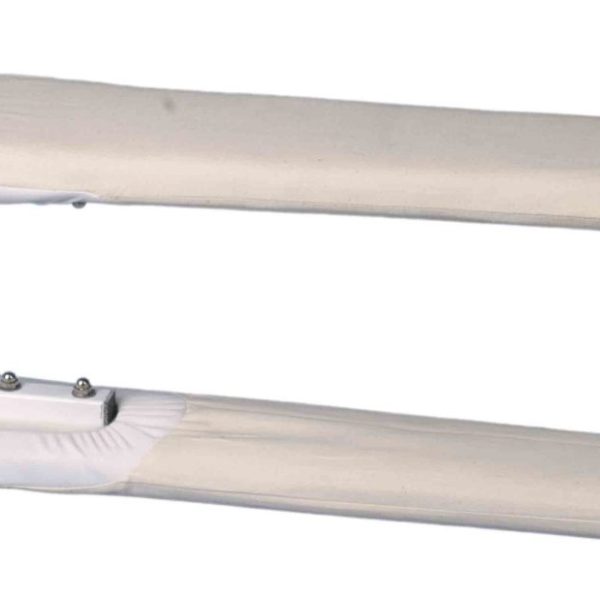
The third item – the sleeve board – is useful for ironing sleeves or getting to hard-to-reach places (it’s also great for pressing seams if you sew). It’s similar to an ironing board, but it’s smaller and narrower. This allows you to slip your sleeve through and rotate it after each side has been ironed. The benefit it doing is this way is that you don’t have to constantly adjust your sleeves in order to make sure two layers of fabric are constantly flat. It also means you don’t have to worry about ironing in sharp creases at the edge of your shirt.
You can buy sleeve boards at any number of places. Amazon has a bunch and Target sells a model. Someone even posted an online tutorial on how to make your own. I personally got mine from WAWAK, a company that mostly sells to people in the tailoring trade. Theirs is made from a very sturdy plywood, and both sides have a padded slipover cover. Should you ever damage these covers, WAWAK sells replacements.
The upside to their model is that one side is perfectly built for sleeves while the other side is good for trousers. Of course, if you use this for trousers or jacket sleeves, you’ll want to use a pressing cloth, which WAWAK also sells. The downside, however, is that it’s not foldable or collapsible when you store it away. Something to consider if you’re tight on space.
